What Makes Photography Tours Different
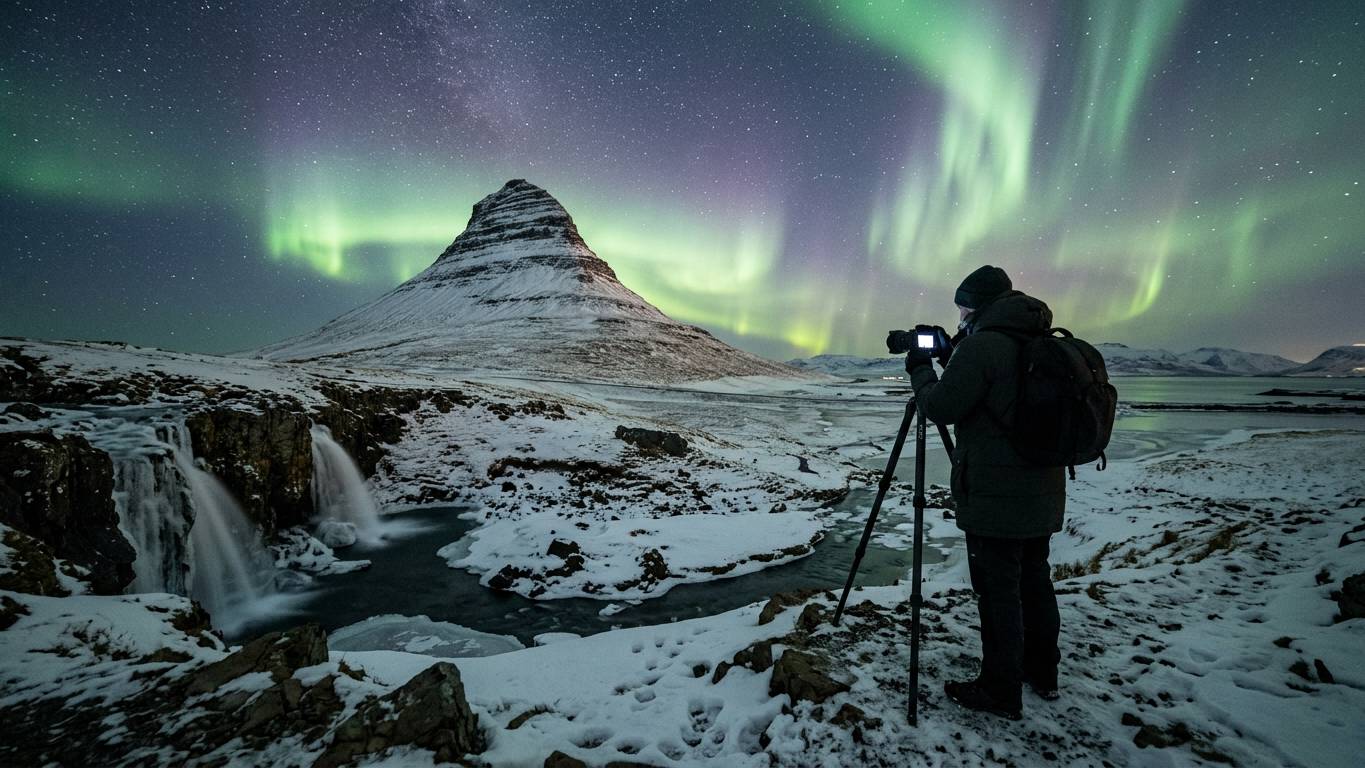
A northern lights photography tour iceland provides dedicated time for setting up camera equipment, adjusting settings between shots, and experimenting with compositions while guides assist with technical challenges. Most operators limit group sizes to allow individual attention at each stop.
Standard aurora tours typically spend 10-15 minutes at each location before moving on, while photography-focused departures allocate 30-45 minutes per site to give you time to fine-tune exposures and bracket shots. Guides on these tours understand manual camera controls and can troubleshoot common issues like condensation, focus drift, and battery drain in cold conditions.
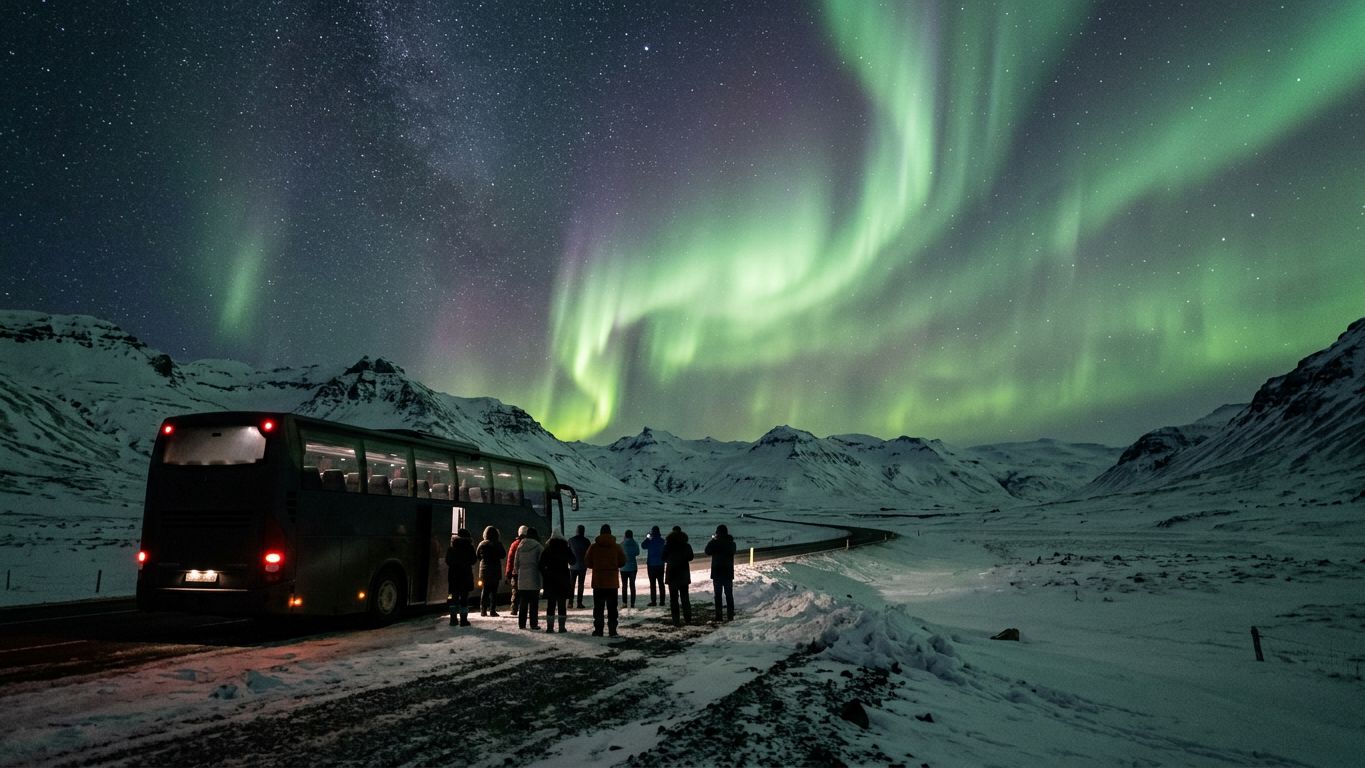
Tours usually visit the same dark-sky areas as northern lights bus tours from Reykjavik, but the pace and group dynamics prioritize capturing images over simply viewing the display. Some operators provide LED headlamps with red filters to preserve night vision while checking camera screens.
Essential Camera Settings for Aurora Photography
You need to shoot in full manual mode because auto settings cannot handle the low light and moving aurora. Set your ISO between 1600 and 3200 as a starting point, knowing that higher values introduce more noise but capture fainter aurora structures.
Your aperture should be as wide as your lens allows, typically f/2.8 or lower, to gather maximum light. Shutter speeds between 5 and 15 seconds work for most aurora displays, with faster curtains requiring shorter exposures to freeze movement and slower arcs allowing longer captures for detail.
Switch to manual focus and set your lens to infinity, then zoom in on a bright star using live view to confirm sharp focus. Autofocus systems fail in darkness, so taping your focus ring after achieving sharp stars prevents accidental shifts. A sturdy tripod is mandatory because even the slightest movement during long exposures causes blur.
Most cameras drain batteries quickly in Icelandic cold, so carry at least two fully charged spares in an inside pocket close to your body. Tours typically last 4-6 hours, giving you ample opportunity to experiment with settings as conditions and northern lights forecast in Iceland parameters evolve through the evening.
Book Northern Lights Photography Tours
More tours on GetYourGuideSmartphone Night Mode Options
Modern smartphones with dedicated night modes can capture recognizable aurora images, though with less control and lower quality than dedicated cameras. iPhone Night mode and Android equivalents automatically stack multiple exposures, requiring you to hold the phone steady for 3-10 seconds or mount it on a small tripod.
Phone cameras struggle with the brightest greens but often capture structure invisible to your eye during weak displays. The key limitation is lens aperture, which remains narrower than interchangeable camera lenses, reducing light-gathering capability and limiting your ability to freeze fast-moving curtains.
Photography tour guides can advise on phone-specific techniques like third-party apps that unlock manual controls, though most tours assume participants bring DSLR or mirrorless cameras. If you only have a smartphone, consider joining a small group northern lights tour from Reykjavik where the focus is shared viewing rather than dedicated camera instruction.
How Guides Help With Technical Challenges
Photography-specialist guides demonstrate setting adjustments in the field, checking your initial test shots and suggesting corrections for overexposure, underexposure, or focus errors. They recognize common mistakes like accidentally switching back to autofocus or using the wrong white balance preset.
Guides monitor live aurora activity and cloud movement via vedur.is aurora forecast throughout the tour, repositioning the group when forecasts show clearer skies in a different direction. They also identify strong foreground elements like lava formations or frozen lakes that add compositional interest to your frames.
When aurora activity intensifies suddenly, guides help prioritize shooting over fiddling with menus, calling out optimal moments for wider shots versus telephoto details. Some operators provide lens-cleaning cloths and hand warmers, recognizing that condensation and numb fingers are the most common obstacles to successful night photography in Iceland.
Foreground Composition Ideas
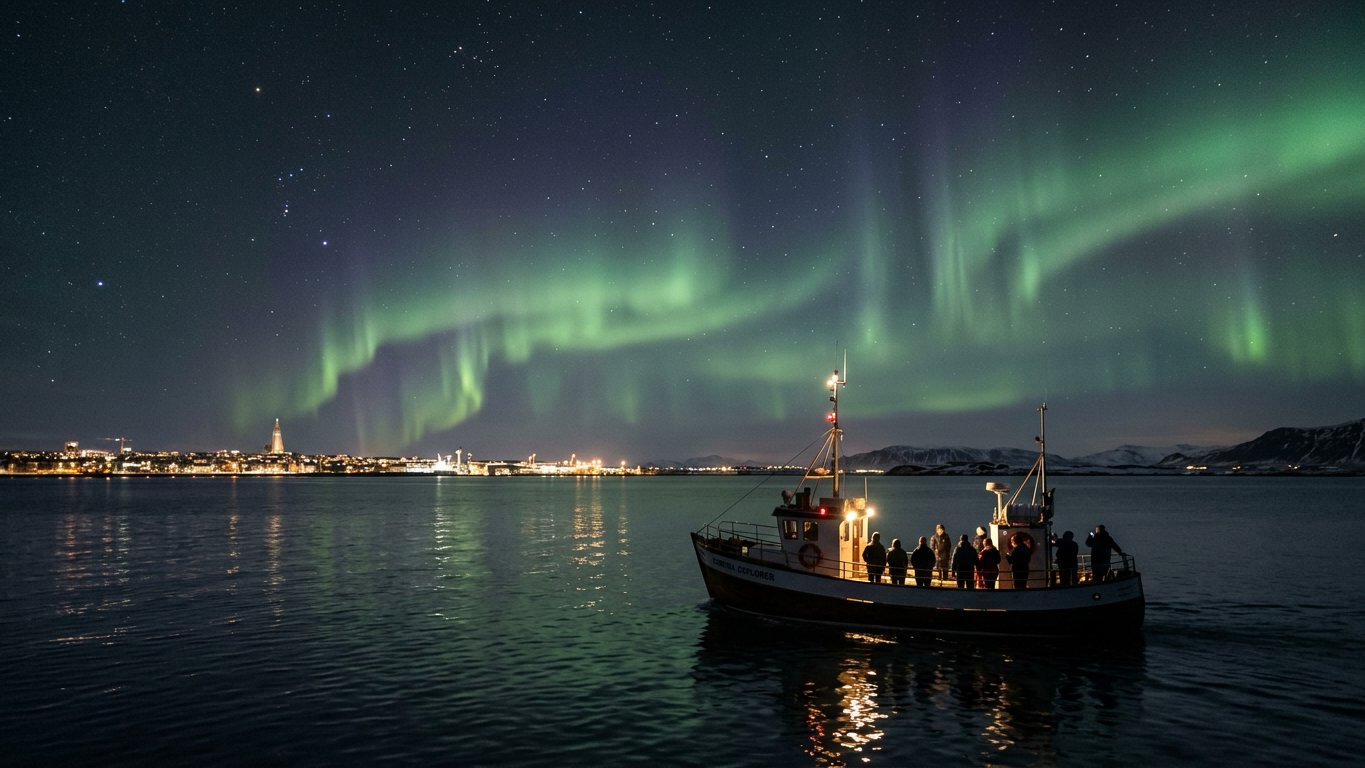
Empty sky shots lack context and scale, so strong foregrounds transform aurora photographs from documentary records into compelling images. Tours often stop at locations with distinctive elements like weathered fence posts, volcanic craters, or reflective water surfaces that mirror the lights overhead.
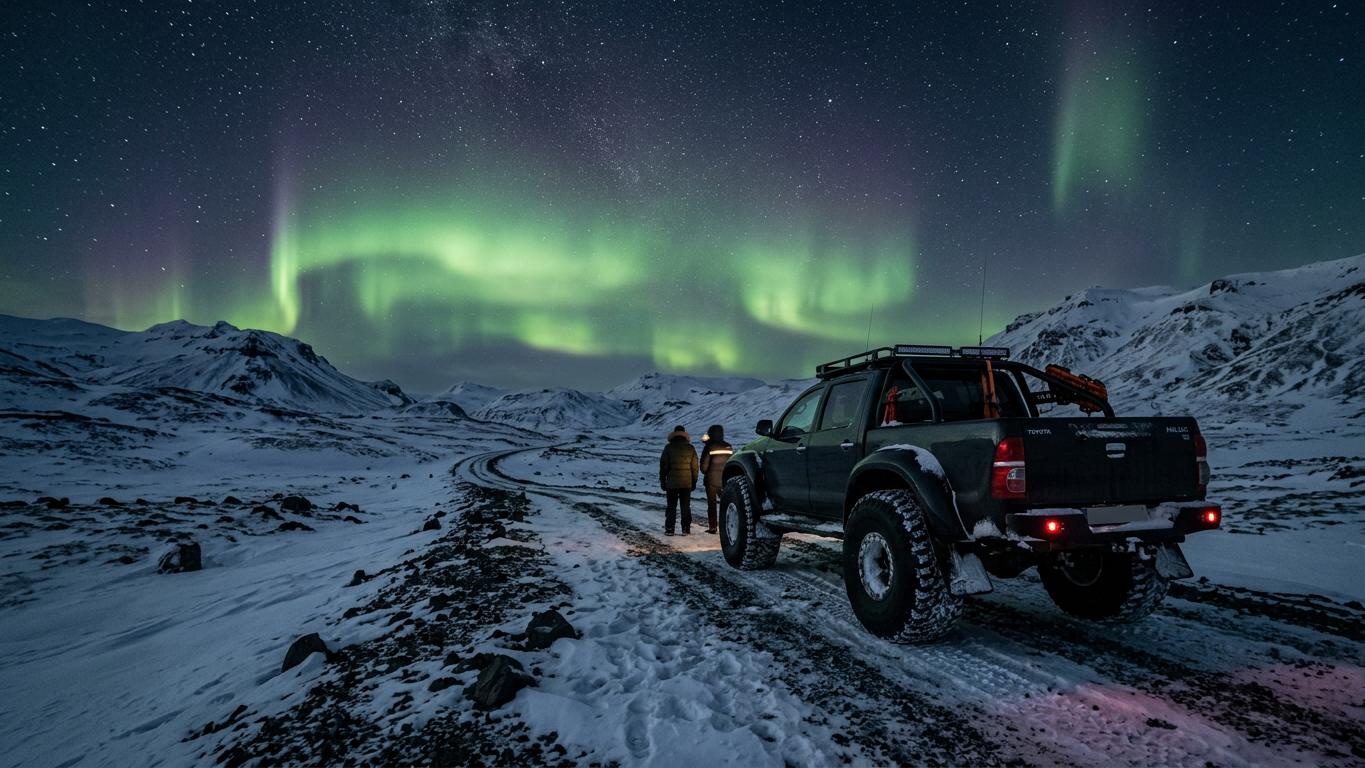
Thingvellir for northern lights lies about 45 minutes from Reykjavik and offers the dramatic Almannagjá rift valley as foreground, with clear views north and minimal light pollution. The south coast provides black sand beaches and sea stacks, though access depends on road conditions and weather safety.
Guides familiar with photography know which angles work at each location and can suggest focal lengths based on aurora height and spread. Wide-angle lenses between 14mm and 24mm capture the full arc overhead plus substantial foreground, while 35mm and 50mm frames isolate specific curtain structures against landscape elements.
Snow-covered lava fields and bare trees create high-contrast silhouettes, while ice formations reflect aurora colors in subtle ways. The best time to see northern lights in Iceland runs from late August through mid-April, with winter months offering snow foregrounds and autumn providing unfrozen lakes for reflections.
Tour Duration and Shooting Opportunities
Most photography-focused departures run between four and six hours, with actual shooting time dependent on cloud cover, aurora strength, and the number of location changes required. Tours typically leave Reykjavik between 20:00 and 21:00, chasing clear skies within a 90-minute radius of the city.
Operators usually visit two to four different sites per tour, spending longer at locations when aurora activity justifies extended shooting. The KP index measures geomagnetic activity on a scale from 0 to 9, with values above 2 producing visible displays under dark skies and clear conditions.
Even with perfect forecasts, aurora photography involves substantial waiting periods where lights remain faint or hidden behind clouds. Guides use this downtime for settings reviews and composition discussions, though warm vehicle breaks are frequent given Iceland's winter temperatures.
Some operators offer private northern lights tours from Reykjavik that allow you to set the pace and choose when to move locations based on your shooting priorities rather than group consensus.
What to Bring Beyond Your Camera
Layered clothing including thermal base layers, insulated mid-layers, and windproof outer shells keeps you warm during extended stationary periods. Insulated boots rated for sub-zero temperatures matter more than in summer because you will stand motionless for 20-30 minutes at a time while the camera works.
Gloves pose a challenge because you need bare fingers for camera controls but risk numbness within minutes. Many photographers use thin liner gloves under heavy mittens, removing the mittens briefly for adjustments then warming hands between shots.
Bring lens cloths, spare memory cards, and a headlamp with red-light mode to avoid destroying your night vision while reviewing images. Tours provide transportation and access to locations, but you supply all camera equipment, batteries, and accessories.
A remote shutter release or cable release prevents camera shake when triggering exposures, though the self-timer function works adequately if you forget this accessory. Some photographers bring multiple lenses to experiment with different focal lengths as northern lights activity in Reykjavik conditions and composition opportunities change.
Combining Photography Tours With Other Experiences
Some operators link aurora photography with daytime sightseeing in multi-day packages, allowing you to capture both landscape photography during golden hour and night skies after dark. Multi-day northern lights tours in Iceland increase your chances of encountering strong displays by spreading attempts across several nights.
Single-day combination options like golden circle and northern lights tours visit Thingvellir, Gullfoss, and Geysir before continuing to aurora locations after sunset. These require longer tour days but maximize limited vacation time.
Winter photography workshops spanning a week or more travel to locations like Jokulsarlon for northern lights on the southeast coast or Kirkjufell for northern lights on the Snaefellsnes Peninsula, though these fall outside standard Reykjavik evening tour range. Budget options center on accessible locations within 90 minutes of the capital, while premium tours venture farther for iconic foregrounds and darker skies.
Frequently asked questions
Do I need an expensive camera for a northern lights photography tour in Iceland?
Any camera with manual controls and the ability to shoot long exposures will work, including entry-level DSLRs and most mirrorless models from the past decade. The lens matters more than the camera body, with fast apertures like f/2.8 or wider gathering enough light for quality aurora images. Budget models produce slightly noisier files at high ISO but still capture recognizable displays when paired with proper technique.
How do photography-focused northern lights tours differ from regular viewing tours in terms of what the guide does?
Guides on photography tours spend time checking individual camera settings, diagnosing technical problems like focus errors or incorrect exposure modes, and suggesting composition improvements at each stop. Regular viewing tours prioritize getting everyone to a dark location quickly and allowing time to watch the sky, while photography departures allocate extended periods for setting up tripods, bracketing exposures, and experimenting with different techniques. Group sizes are typically smaller to allow one-on-one instruction.
What camera settings should I start with when photographing the northern lights in Iceland for the first time?
Begin with manual mode, ISO 1600, aperture f/2.8 or the widest your lens allows, and a 10-second shutter speed as your baseline. Set manual focus to infinity after confirming sharpness on a bright star using live view, and mount your camera on a sturdy tripod. From these starting values, adjust shutter speed shorter if the aurora moves rapidly or longer if displays are faint, and raise ISO up to 3200 if needed for brighter captures.
Can I take good northern lights photos with just my iPhone or Android phone on a photography tour?
Modern smartphones with night mode can capture recognizable aurora images, especially during moderate to strong displays, but they lack the manual control and light-gathering capability of dedicated cameras. Phone cameras work best when mounted on a small tripod and require you to hold very still for several seconds while the software stacks exposures. Photography tour guides focus primarily on helping DSLR and mirrorless users, though they can offer basic smartphone advice if asked.
What foreground elements make the best northern lights photographs during tours from Reykjavik?
Strong silhouettes like volcanic rock formations, lone trees, or traditional Icelandic buildings provide context and scale that transform aurora shots from simple sky documentation into compelling compositions. Reflective surfaces such as calm lakes or ocean shorelines double the visual impact by mirroring the lights, while snow-covered landscapes in winter create natural contrast against green and purple hues. Photography tour guides position groups at locations with these elements pre-scouted for effective angles.
How long do northern lights photography tours typically spend at each location compared to moving between spots?
Photography-focused tours allocate 30 to 45 minutes at each stop when conditions are favorable, giving you time to set up equipment, capture multiple exposures, and experiment with compositions. Standard viewing tours typically spend only 10 to 15 minutes per location before moving on. Tours usually visit two to four different sites over the four to six hour duration, with driving time between spots ranging from 20 to 60 minutes depending on cloud movement and forecast updates.
What are the biggest technical challenges when photographing northern lights in Iceland and how do tour guides help solve them?
Cold temperatures drain camera batteries rapidly, condensation fogs lenses when moving between warm vehicles and freezing air, and achieving sharp manual focus in complete darkness proves difficult for first-timers. Photography tour guides demonstrate how to pre-focus on stars, suggest carrying spare batteries in warm pockets, and provide lens cloths while coaching you through settings adjustments based on your test shots. They also monitor weather forecasts in real-time to reposition the group away from incoming clouds.
Is it worth booking a private northern lights photography tour instead of joining a small group departure from Reykjavik?
Private photography tours allow you to set the pace, choose how long to stay at productive locations, and receive undivided instructor attention throughout the evening. They cost significantly more than small group options but make sense for serious photographers who want maximum flexibility and one-on-one technical coaching. Small group photography tours with 6-12 participants offer a middle ground with specialized instruction at budget or mid-range prices, though you must accommodate the group's skill level and shooting pace.